How to Take a 360° Photo with Insta360 X5
Disclaimer: This is not a paid ad by Insta360. We’ve been working with 360° images since 2013, and based on our experience, the Insta360 models are a good choice if you need to capture panoramas for training while keeping production costs within a smaller budget.
As you may have learned in our article about 360° images, the Insta360 X5 is a consumer 360° camera that lets you take a 360° photo quickly and easily.
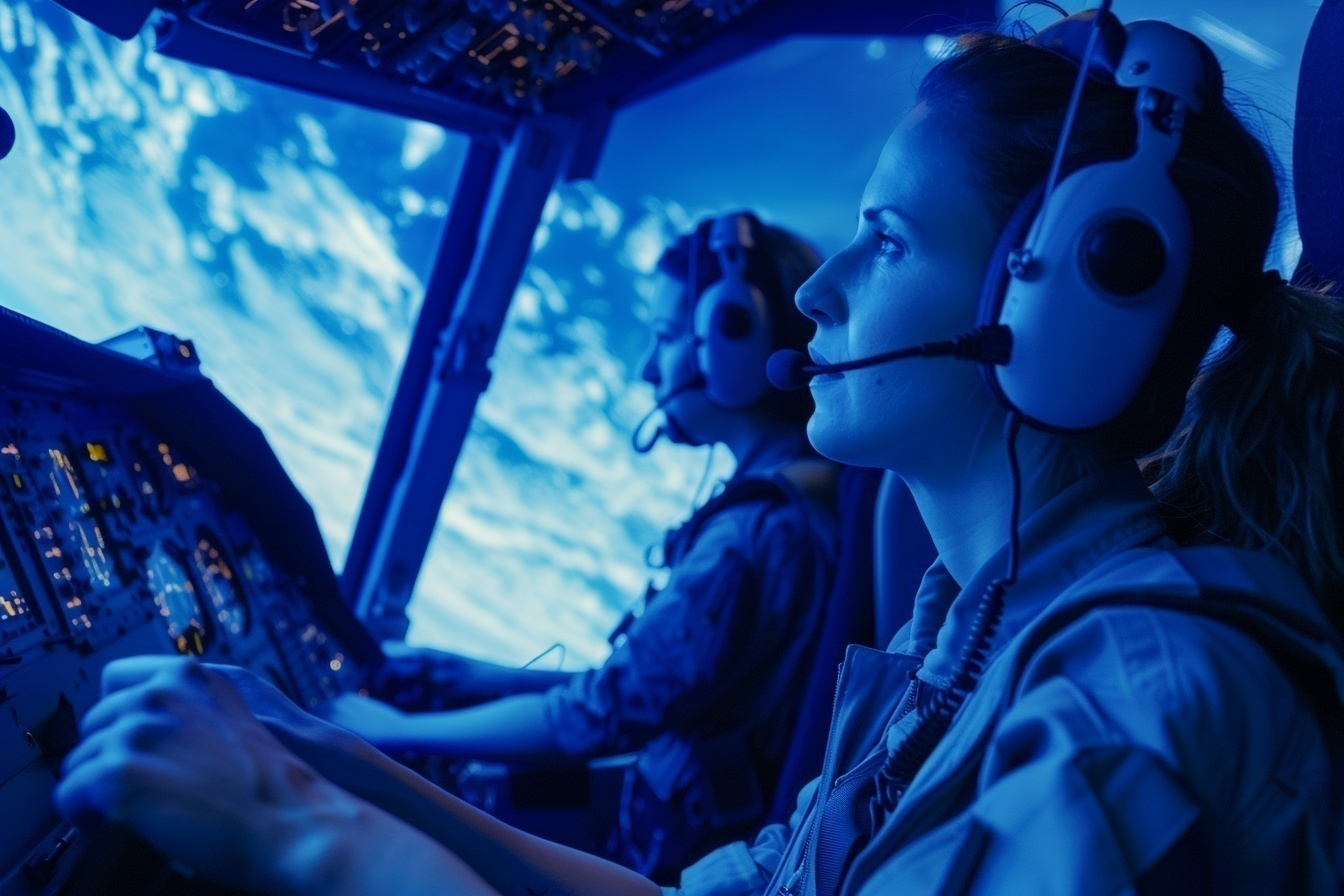
A 360° image is important if you want to build immersive courses in Panomio. The photo provides the virtual environment for your content. Using a 360° camera is one of the fastest ways to produce a spherical image for your course. The Insta360 X5 is easy to use and produces a picture in a format ready for upload to Panomio. It literally takes seconds to capture a 360° image using the X5.
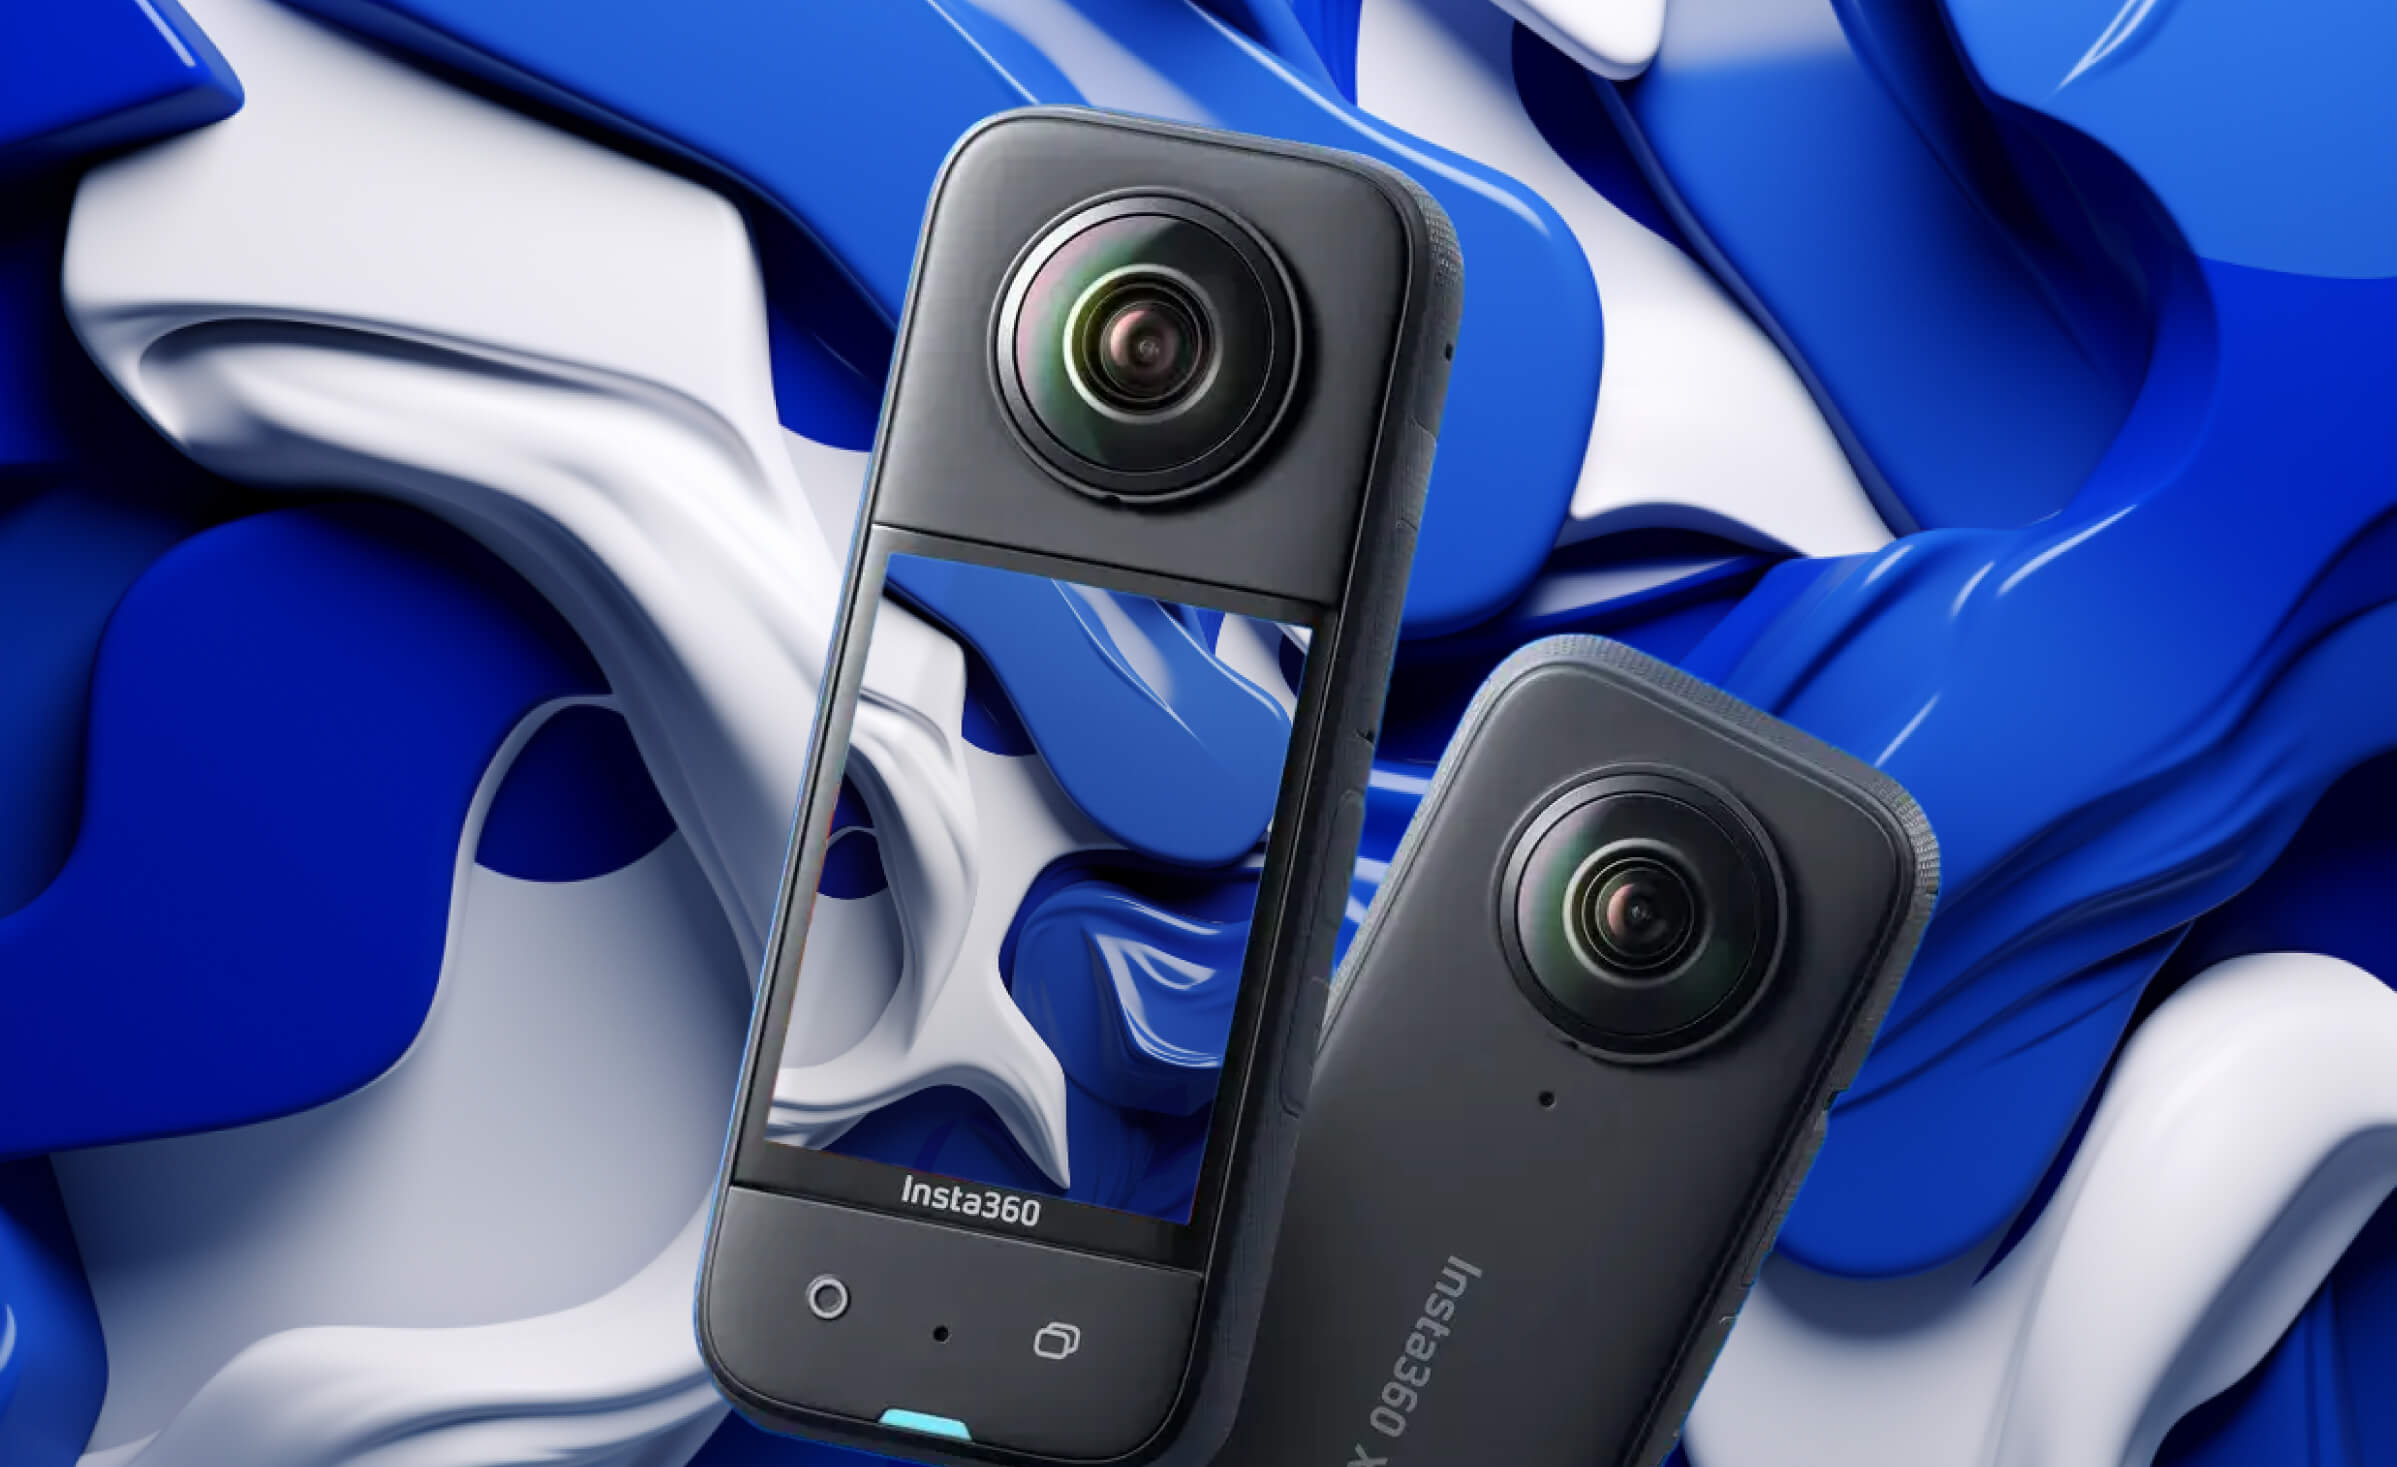
Insta360 X5 captures the same resolution as its predecessor, but now it has dual 1/1.28" sensors for improved imaging. This larger-sensor setup means better detail, clarity, and especially better low-light performance in practice. Although the overall resolution is still about 72MP (11968×5984 pixels), which means you can’t zoom that much into tiny text or details, the image quality and dynamic range are noticeably enhanced.
The X5 also introduces a new HDR photo mode – an AI-powered HDR that automatically merges multiple exposures for you, yielding a balanced image even in high-contrast or dim environments. Yes, it is true that panoramas in this mode take a couple of seconds to capture and process in the camera, but the results are superior to those of its predecessor.
However, a new triple-core processor comes to help, making the workflow faster by accelerating in-camera processing and stitching, so you spend less time waiting and more time creating.
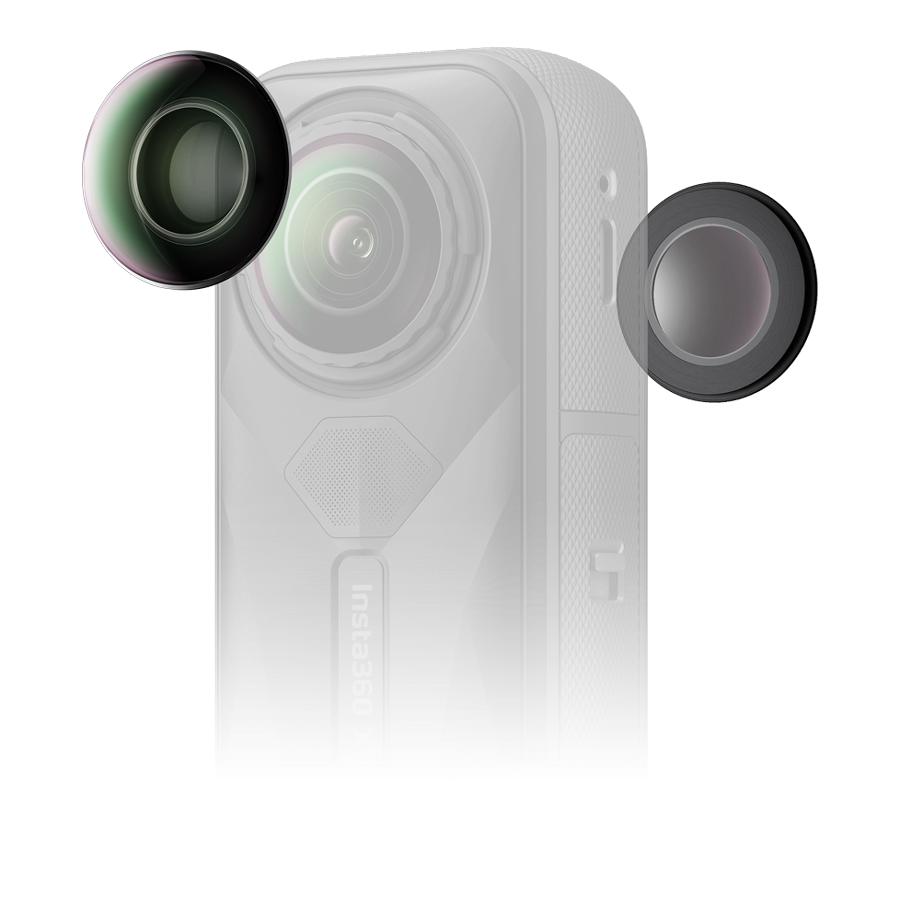
The hardware is more durable and well-suited to heavy use, too: the X5 features replaceable lens, so if a lens cover gets scratched, you can swap it out on the spot without having to service the camera.
These upgrades make capturing 360° training photos more efficient and almost worry-free in real-world use. Now that you understand the advantages of the X5, let’s prepare for your photoshoot.
Before the photoshoot
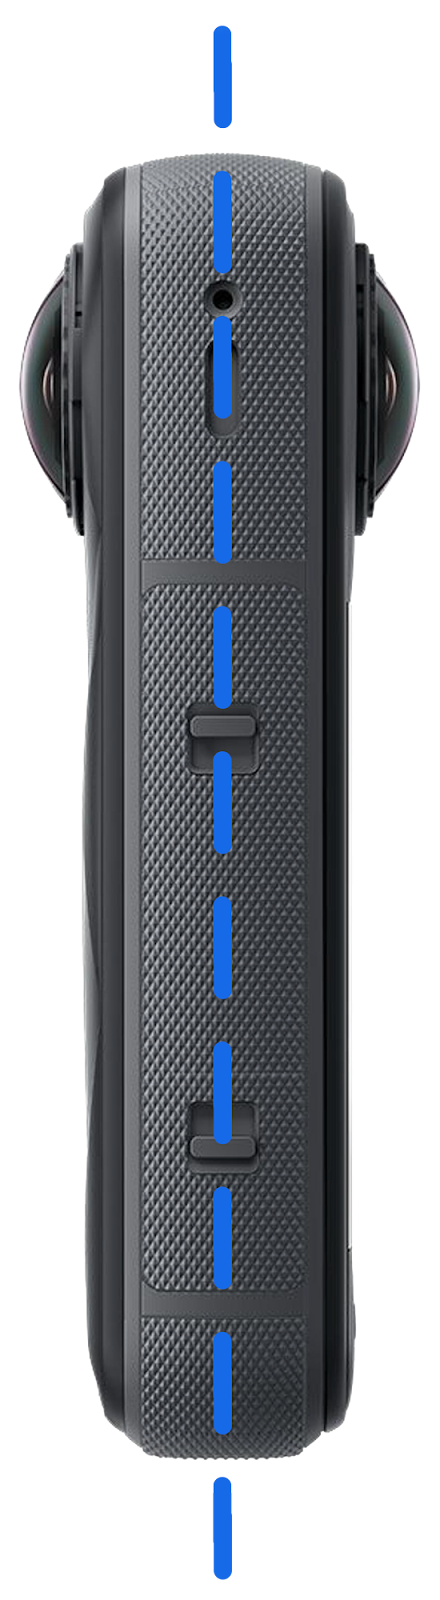
- Buy or rent the Insta360 X5 and a compatible microSD card (U3/V30 or higher to handle the X5’s 8K footage and high-res photos). Make sure the camera battery is charged.
- To hold the camera, we recommend a slim monopod (a single extendable pole designed for stable camera support) zwith a minimal footprint – for example, the Bushman Monopod V2 or Best360 Monopod. These lightweight stands have a very small base and a compact mount, so they cover as little space as possible in the 360° shot (the pole remains unseen in the final image).
- Install the Insta360 app: Download the Insta360 camera control app for iOS or Android. This app lets you remotely control the X5 from your phone and preview your shots.
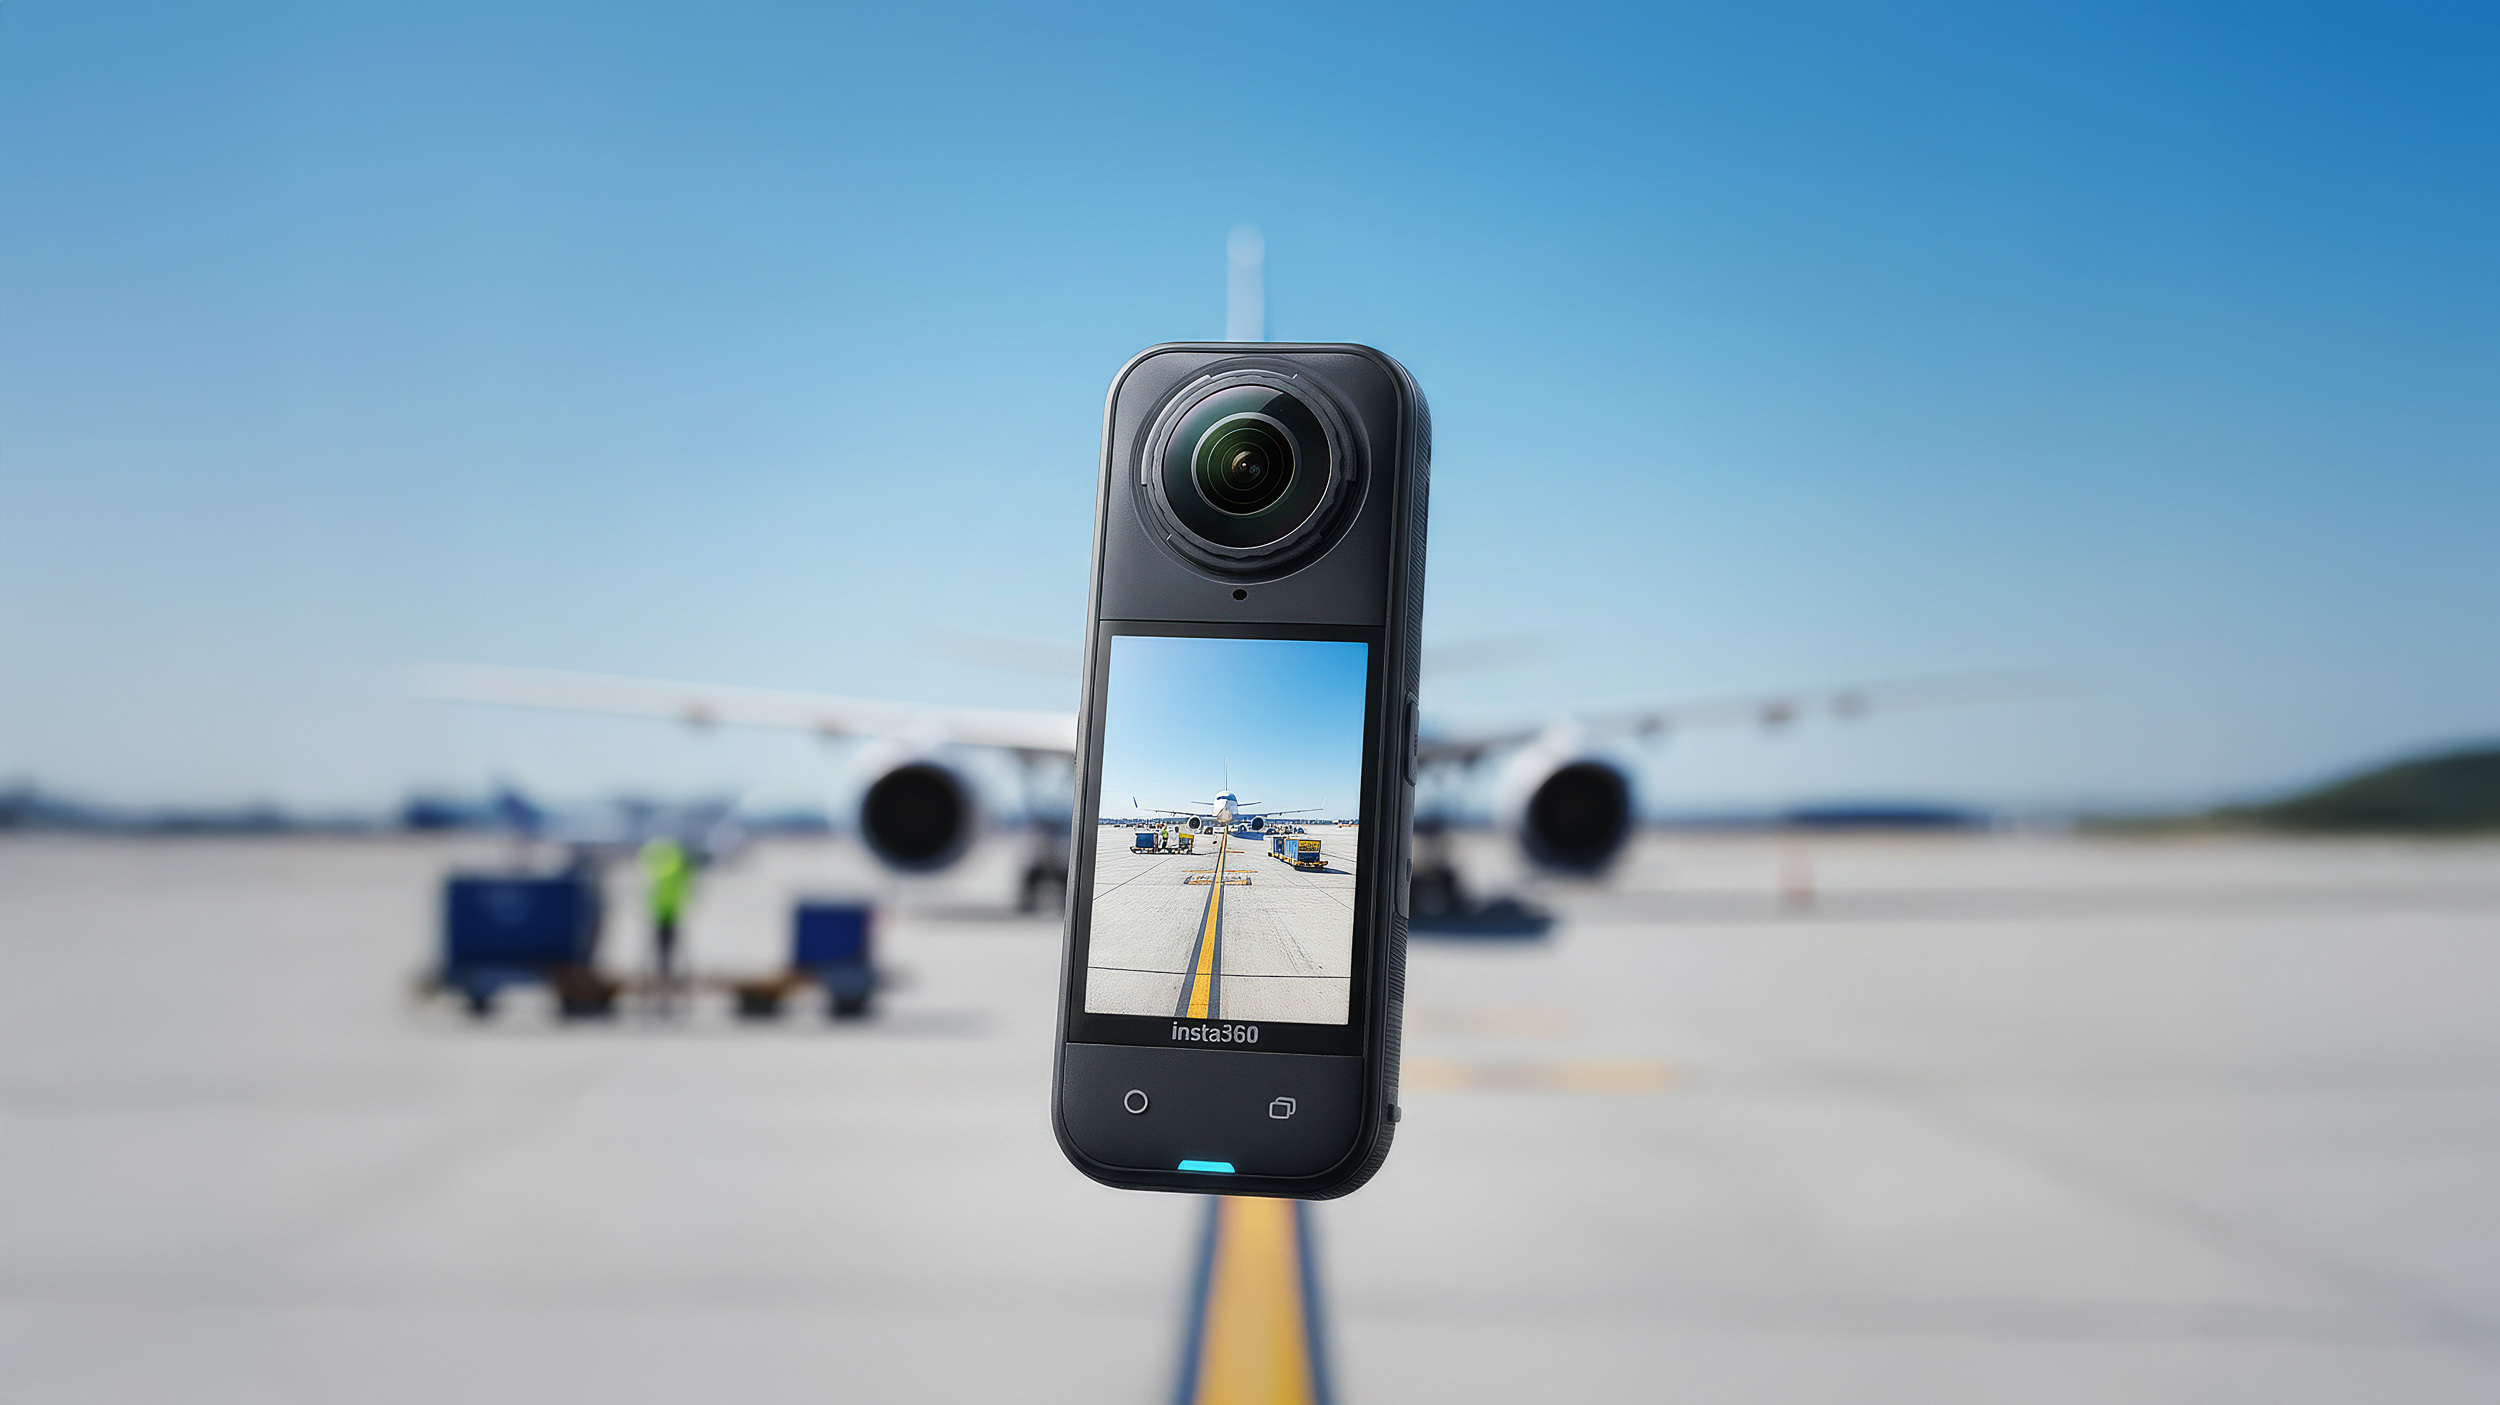
- Open the Insta360 app and connect to your X5. Set it up to capture 360° photos at the maximum 72 MP (12K) resolution. For format, select PureShot (or PureShot + HDR). Auto-exposure will do the job most of the time. If you are an experienced photographer, you can shoot in manual mode (just remember to keep the ISO as low as possible for the cleanest image quality).
- Ensure you have permission to access the facility or area you plan to photograph. Pick a time when you won’t be interrupted, so you can stage the environment ideally for training content.
Best setting for Virtual Tour
Not sure which modes to use? PureShot, PurseShot + Raw, HDR, AEB? Seems overwhelming. I have short and long answers for you.
Short one - HDR Photo ON with PureShot (if you have enough space on SD card, opt for RAW as well as a backup).
A longer one - would be to actually point you in the direction of Ben Claremont. Ben has been working with 360 cameras since 2015, and his blog is packed with detailed comparisons and answers to your questions, so you can skip the guesswork.
How to take the picture
- Prepare the area
Ensure the area you photograph looks exactly as you want it to appear in the course. Remove any unnecessary items and ensure the space is clean and organized. - Set up the equipment
Mount the X5 on your tripod/monopod and power it on. Open the Insta360 app on your phone and connect to the camera. Choose the desired camera height and position based on what you need to capture.- Point the lens towards the main object to avoid the stitch line crossing important parts.
- Don’t rotate the camera while shooting. It’s easier for the stitch algorithm to align the footage when your camera is in a fixed position.
- Try to keep the camera 80cm away from surrounding objects.
- Preview
Use the live preview on your phone to check the shot. Make sure you can see all the relevant objects, equipment, or areas that will be described in your training course. - Shoot
When ready, hide yourself and capture the image using a timer if necessary.
Make sure you clean the lenses before taking the pictures.
How to export the picture
Option 1: Export via Desktop (Best for full control)
- Transfer the file to your computer.
Connect the X5 to your computer via USB or use a card reader. - Open Insta360 Studio
Launch Insta360 Studio on your desktop. Import your 360° photos (file format will be .insp/.dng) - Adjust stitching settings (if needed)
Tap the stitching or lens settings icon. If you used lens guards (protective covers for the camera lenses), make sure the app has correctly detected them. If not, manually set the correct stitching method. Stitching refers to the process of joining the images from each camera lens to create a complete 360° photo. - Color Correction
If the look Insta360 produces doesn't suit your taste, in Insta360 Studio, you can make the basic adjustments (exposure, shadows, highlights, etc.). After finding your style, you can also apply the edits in batch settings for multiple photos. - Export the photo
Click Export and save the image as a JPEG, and choose “Export 360 Photo”. You don’t need to change any resolution settings (11968×5984 pixels).
Option 2: Export via Mobile App (Fast and fully mobile)
- Open the Insta360 App on your phone.
Connect to your X5 and locate the 360° photo you captured. - Adjust stitching settings (if needed)
Before exporting, tap the stitching or lens settings icon. As mentioned in “Export via Desktop”. - Select the image and tap “Download.”
This pulls the photo from the camera into your phone’s app library. Save the image as a 360° equirectangular JPEG. - Make in-app edits (optional)
Use the phone's photo library built-in editing tools to adjust brightness, contrast, exposure, and white balance. Most modern phone photo editors allow final tweaks. Some offer AI-based removal tools to erase distractions.
Here is the link to the basic operation of Insta360 X5.
Before you get your own 360° image, you can download the samples for testing here.
Ready? Upload a 360° image in Panomio.
- Log in to Panomio.
- Go to “Scenes” in the left-hand menu.
- Click “Upload New” in the top-right corner.
- Select your 360° image from your computer or phone.
- Click “Next” and name your scene.
- Go to “Projects” in the menu and create a new project.
Name your project, select the scene, and start building your course.
Quick Checklist for Shooting 360° Photos with X5
Camera & Power: Insta360 X5 (charged battery) and a formatted high-speed microSD card.
Support Gear: 360° monopod/tripod with small footprint (e.g., Bushman Monopod V2; Best360 monopod).
Camera Settings: 72 MP, PureShot (HDR on), timer ready (or use trigger through the app).
Environment Prep: Area is cleaned and staged.
Framing Check: Preview in app and adjust if necessary.
Shoot: (Start timer) Hide, Capture.
Export: Desktop or mobile workflow.
Upload: JPEG to Panomio.
We are here to help
Over the years, we have done many 360° photoshoots for our clients and will be happy to share some tips with you. If you have any questions about using the Insta360 X5 or creating virtual training scenes, feel free to email us at info@panomio.com or request a meeting.
We’re excited to see what you create!